MHB covers get lots of love and interest from our readers, so I thought I’d share a ‘behind the scenes’ look at how one is made!
Here’s a glimpse at how the Angelbound cover was born… hope you enjoy it!
Step One: Provide Direction to the Artist
The first step with a cover is to provide context and direction to our digital artist. At MHB, we are all about PowerPoint. (Okay, mostly I am all about PowerPoint and everyone goes along to humor me 🙂 ) For Angelbound, I created a PPT with directions for the cover and then shared it with the team. This part of the process can take a while. For example, the PPT for Portia took about 10 tries before it ever went to the artist.
With that in mind, here’s the final PPT that was sent for the first Angelbound cover:
Please note: this file contains art that I pulled off the internet (and have no rights to!)
Step Two: Choose Stock Art
In the second step, the artist sends us back some photos that we can purchase the official rights to use commercially. This process is called purchasing Stock Art. In this case, the artist started by sending me ideas for the Myla character. These came from a web site called Deviant Art, which is a great source for unique stock photos. There are larger stock houses out there too, like Getty.
Here were my options for Myla:
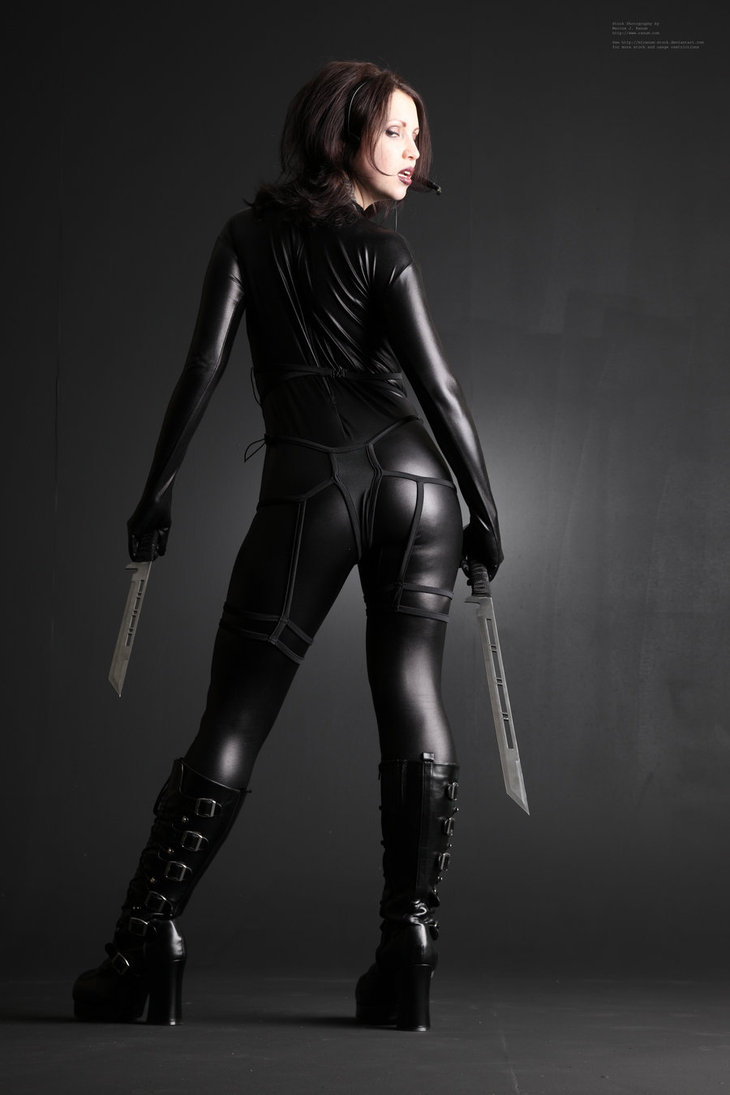
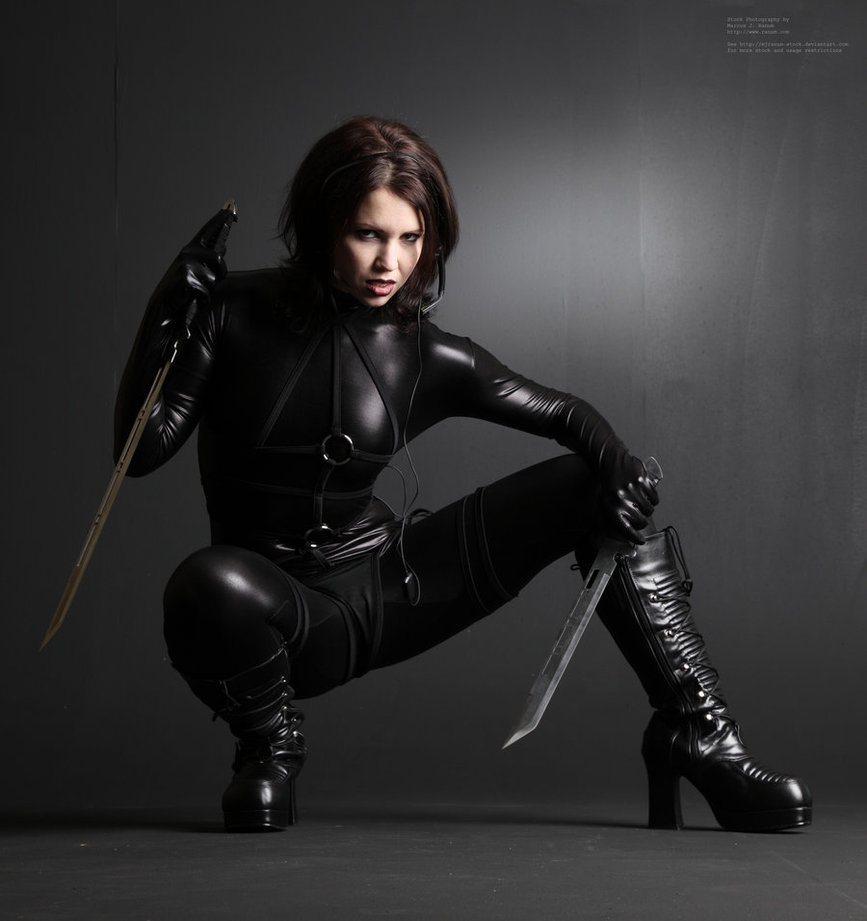
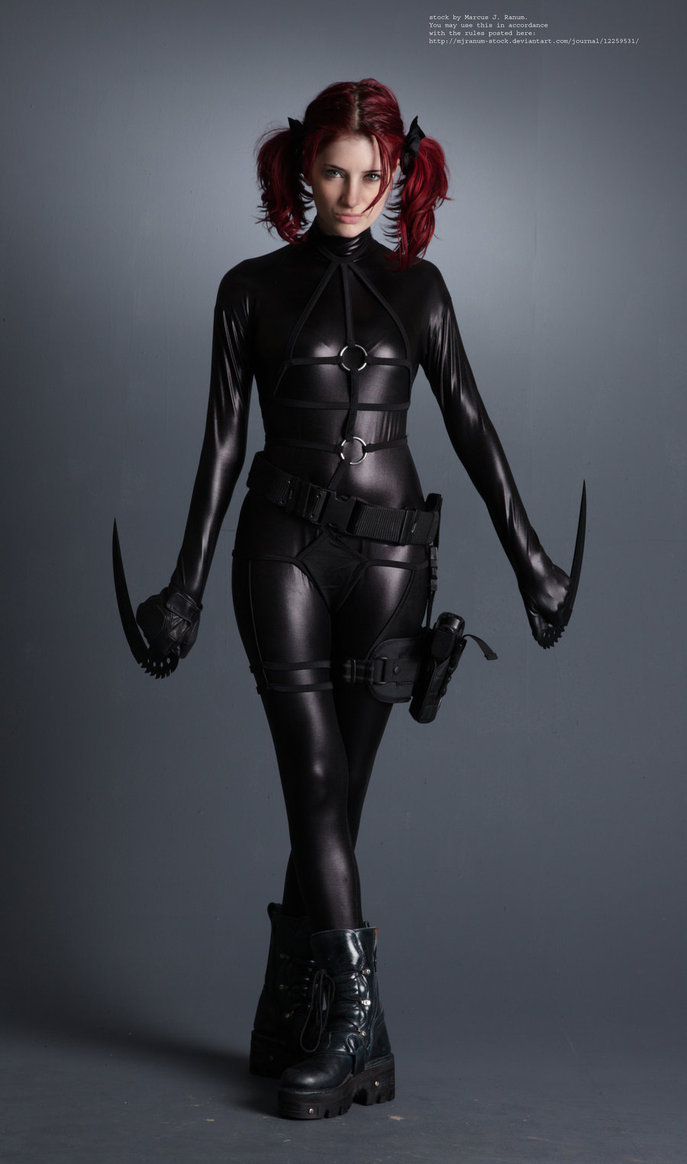
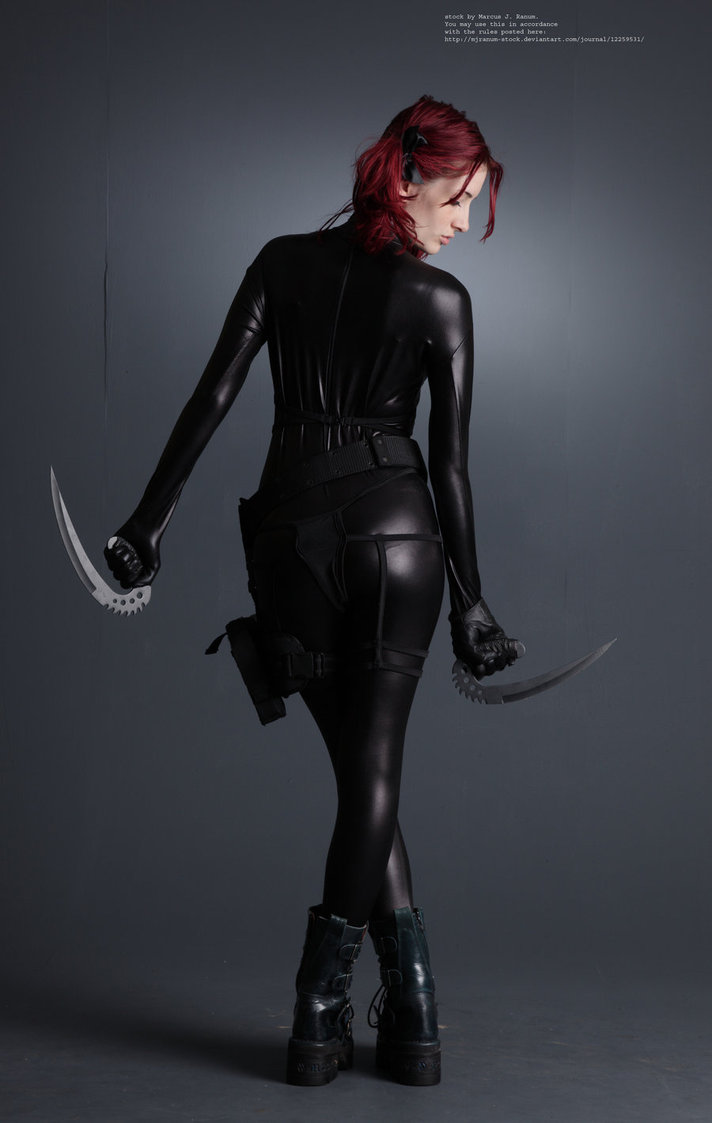
In this case, we liked the top half of the last model and the bottom half of the first. So, I asked the artist to ‘Frankenstein’ them together (and yes, I use Frankenstein as a verb all the time!)
We also got a range of swords to choose from that Myla could hold in her hand:
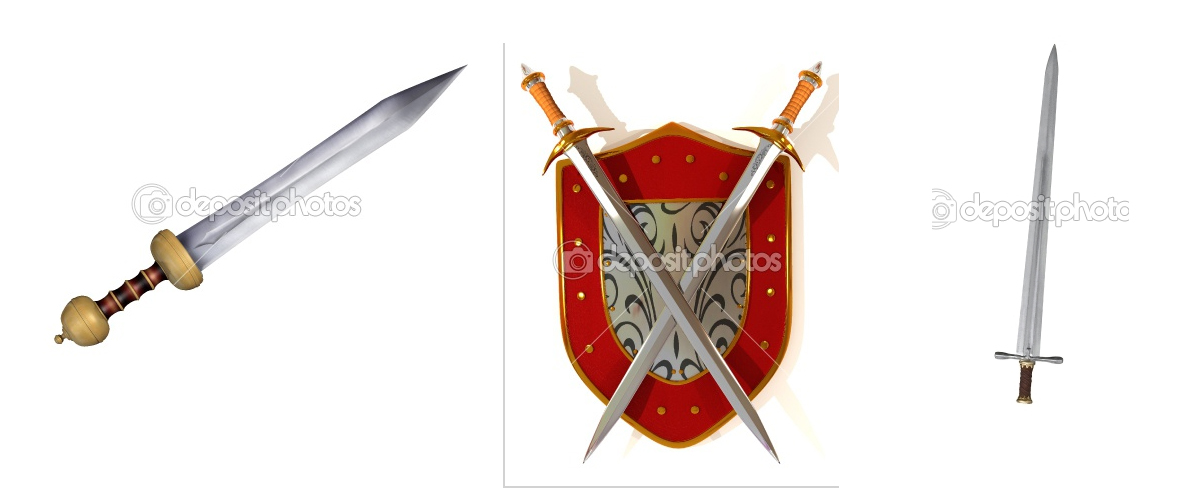
Once we chose a sword and an arena background, we were good to go onto the next step!
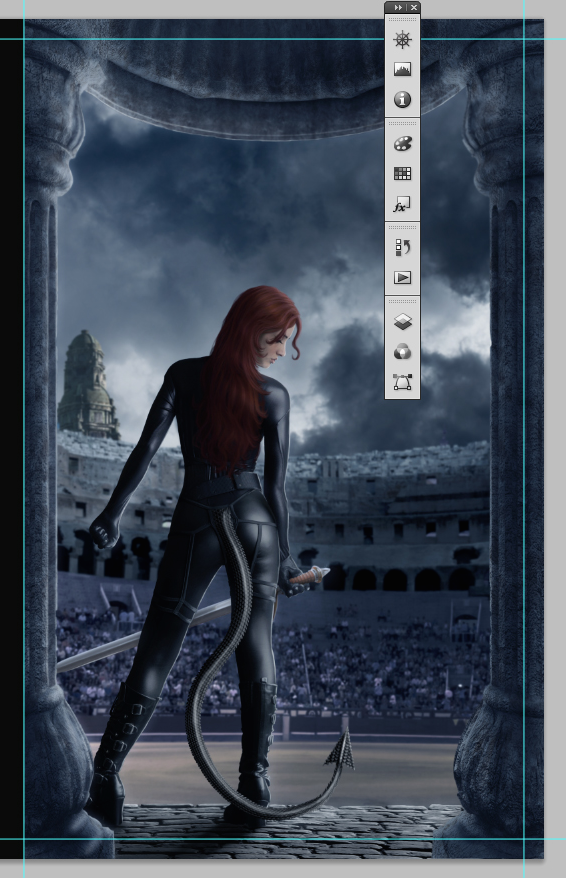
Step Three: The Mock-Up
After the stock art was chosen, we get a rough mock-up of the cover. At this stage, there’s no blending, shading, or lighting, just the general placement of the elements. Sometimes, this is where we realize that the PowerPoint just isn’t working. That’s when we have to go back to square one and redo the initial concept.
In the case of the Angelbound cover, it all came together pretty quickly:
From here, we give the artist a bunch of notes, like asking her to:
- Smooth out the catsuit
- Jazz up the hair
- Make the sky Purgatory-gray
- Pump up her shoulder muscles
These tweaks go back and forth for awhile until the art is final. Once we give the big a-okay, the file goes off to a graphic designer (that’s a different skill set than a digital artist). The designer adds the text and—VOILA!—we have a final cover!
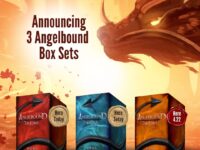
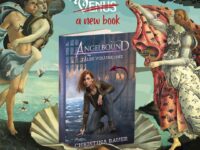
Step Four: Reveal the Final Cover!
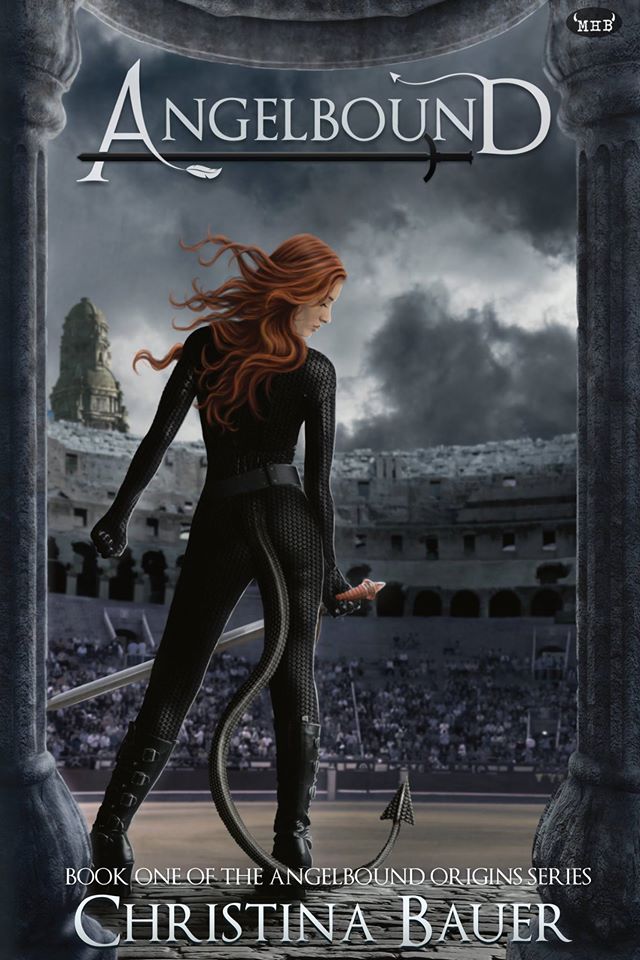
So that’s it… an MHB cover from start to finish!
One last note: the Angelbound cover was my first one and it went pretty smoothly. Since then, every other cover has needed multiple rounds to get to where it needs to be. In other words, there’s typically a stage where I’m saying… this is the cover where I jump the shark! So far, I’ve always been happy with the final results.
Fingers crossed for the future and thanks for reading!